D.I.Y. Projects
Things that I am making:
Aisle Runner
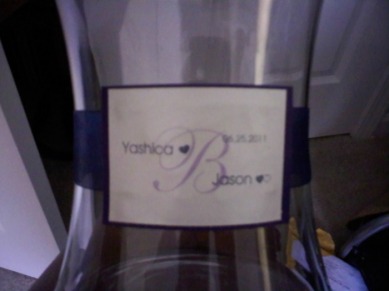
Water Bottle Labels (DONE)
Labels for Bridesmaid Candles (DONE)
Shot Glasses (DONE)
Centerpieces for the Rehearsal Dinner
Invites
Programs
Timelines
OOT Bags
Memorial Candles
(PICTURES TO COME)
Rehearsal Dinner Centerpieces
Aisle Runner
Water Bottle Labels (DONE)
Labels for Bridesmaid Candles (DONE)
Shot Glasses (DONE)
Centerpieces for the Rehearsal Dinner
Invites
Programs
Timelines
OOT Bags
Memorial Candles
(PICTURES TO COME)
Rehearsal Dinner Centerpieces
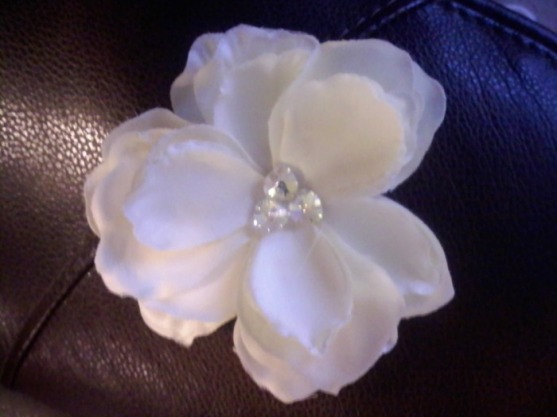
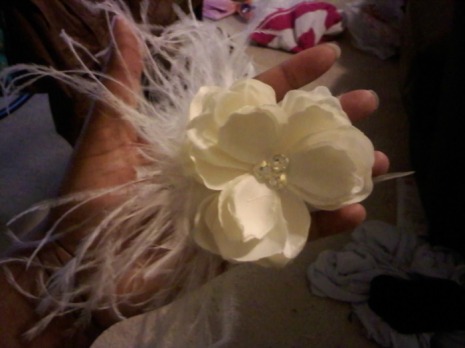
Hair piece?
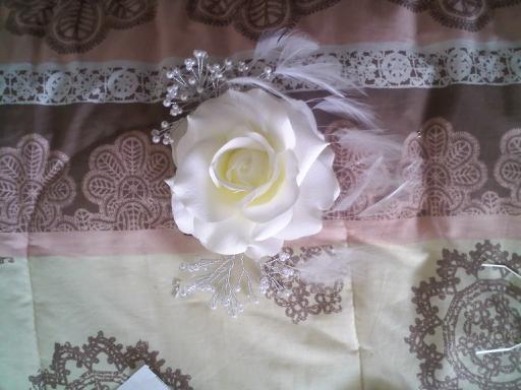
I hadn't plan on making a Hair piece or anything and in fact I had been stalkin a cute flower (I really don't want a veil). So I saw this other Knottie bio and she made a hair piece and I said "that looks easy"! LOL!!! So this is how it came out. I really do love it!
The Hair pieces were super easy. Just pick out a Flower of your choice and get some of the "bling stems" that they sell every where (Hobby Lobby, Micheals, AC Moore). They are normally on the bridal aisles. Get you a plain hair comb from Hobby lobby (they sell them 5 clear in a pack) Or you can get a brown one from Wal-mart, they are a little bigger. The ones at HB are better for the smaller hair pieces. Get some feathers from HB. For the smaller hair pieces, get a 77 cent flower from HB (they are by the "bling stems") and start by hot gluing your stems to the back and then the feathers. Then glue the comb on. And you are done!
Update: I will not be wearing this hairpiece

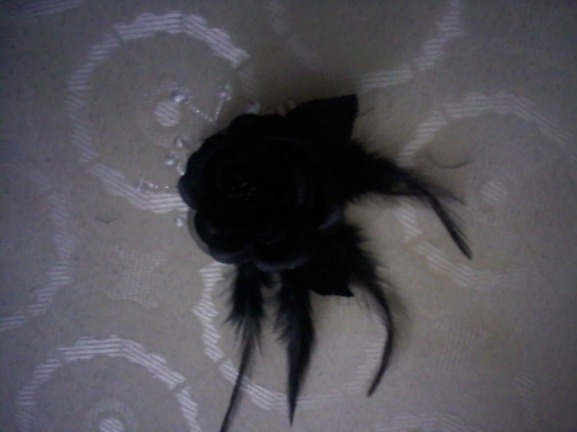
Hairpiece for my Reception Dress!!!
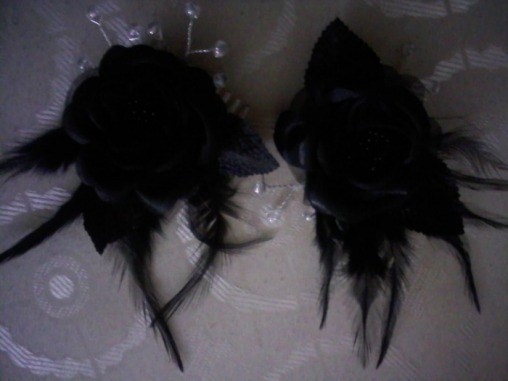
I decided to make two black Hair pieces for my reception dress.
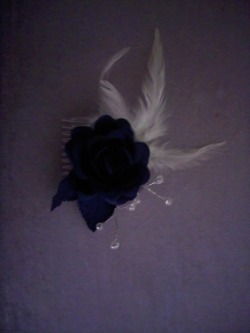
UPDATE: I am going to make some Navy ones to go with my Reception Dress!
Bridesmaids Hairpiece!
Me and my BM BP made these for the Bridesmaids. I think that they are so cool!

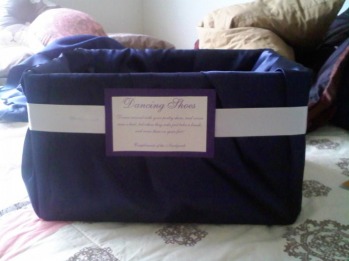
The "Dance Your Shoes Off" Basket

I covered it with Navy satin Fabric that I got from Hobby Lobby, A satin ivory Ribbon and the sign that I created in MS Word. The basket was orginally rainbow stripped from Hobby Lobby and only cost me $6.00.

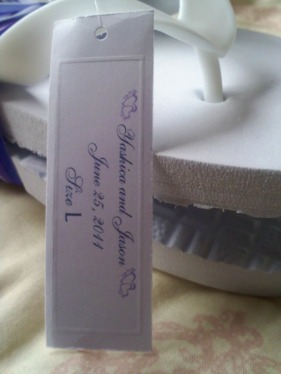
Flip Flops for the Basket
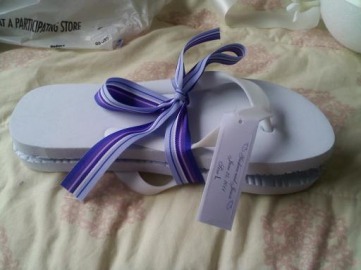
I am just about done with the Flip Flops for the Basket. I just need to get about two more pair.
Jumping Broom!
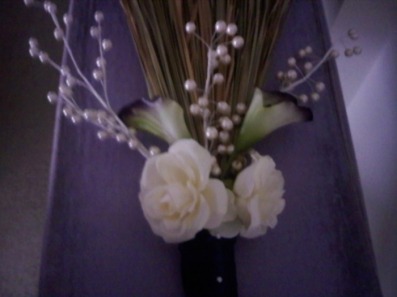
I didn't really want a Jumping Broom any more because I saw how much it took to have someone make them. My BM BP made for it me and I just had to buy the supplies. Cost me only $9!
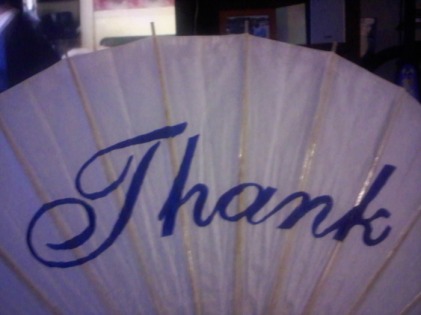
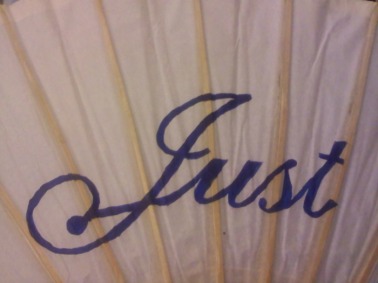
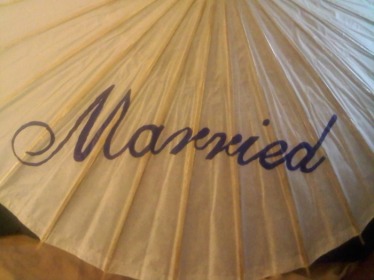
"Thank you" and "Just Married" Parasols
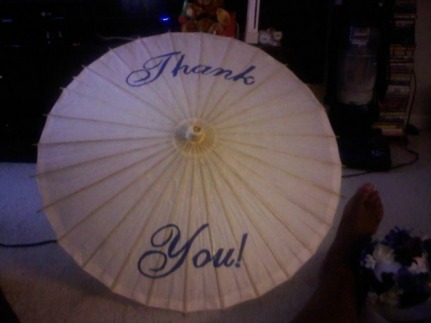
This project took me about 7 hours total! But it was worth it! I got the Parasols from http://pearlriver.com/v2/index.html and they was only $5.50 each. I didn't really use any special instructions, I just traced, painted, and had a lot of free time and patience. :-) Please excuse my feet! LOL!!!
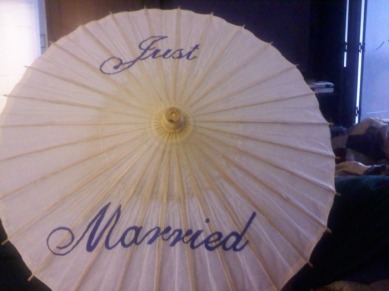
The 'Just Married' was much harder to do.
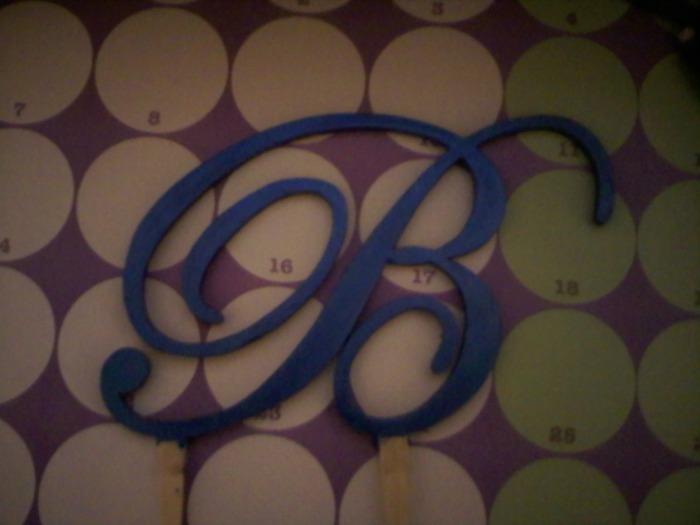
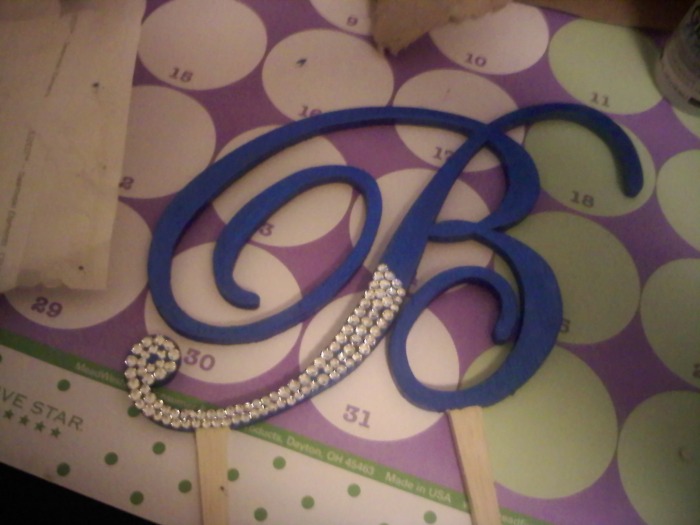
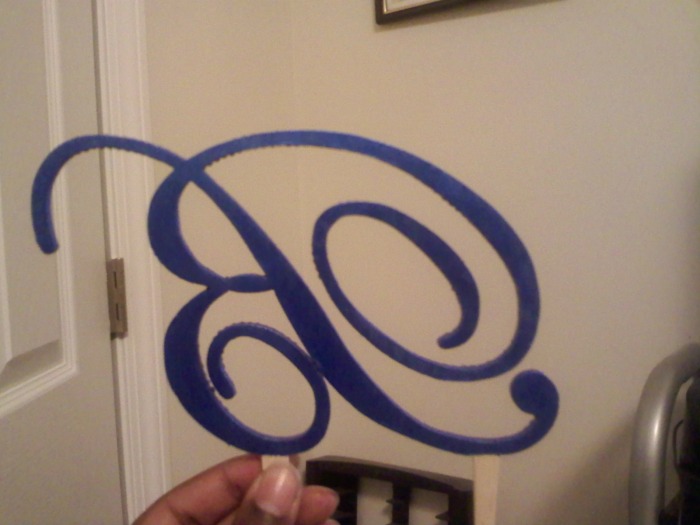
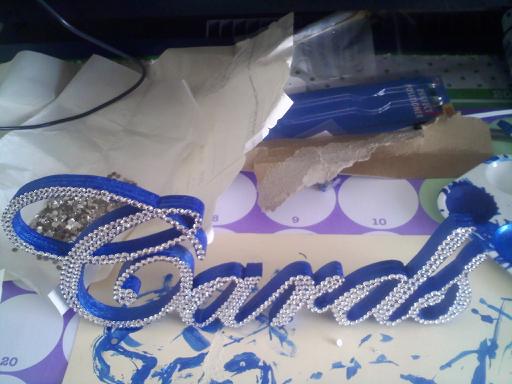
I have gotten my Cake Topper and my cards sign!
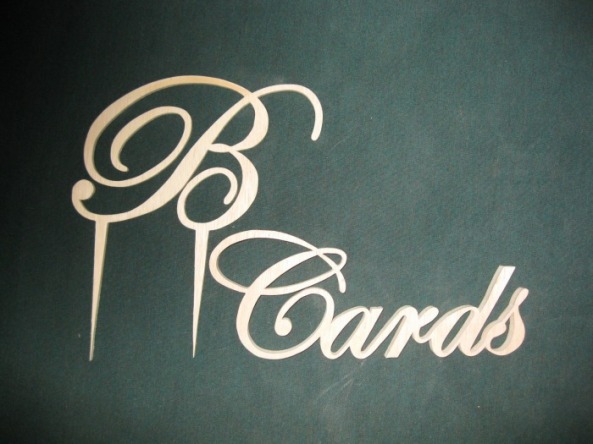
My cake topper and cards sign that I ordered from crafty eddy before blinging them out. Just email him at [email protected]. I ordered my Rhinestones from https://www.dreamtimecreations.com
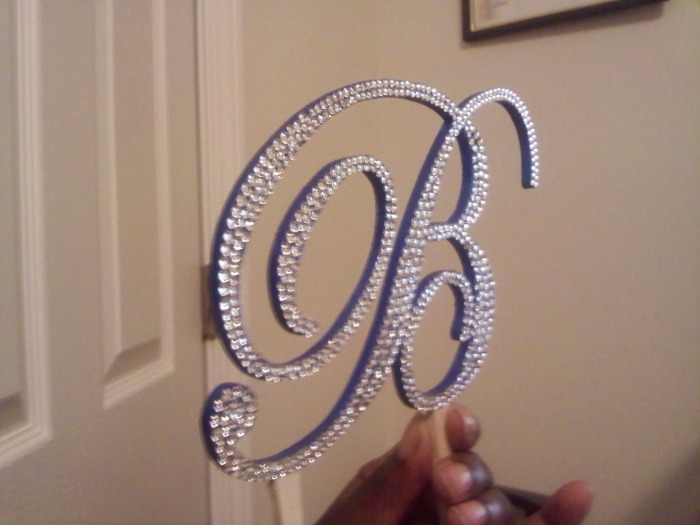
Finished Blinging my signs out!
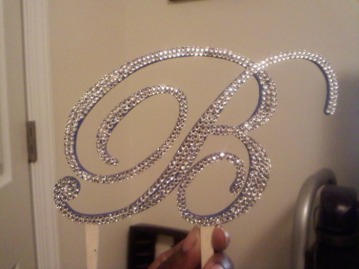
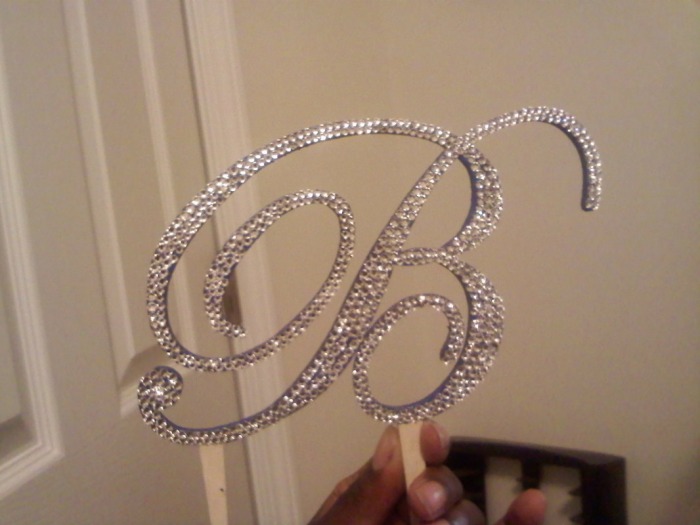
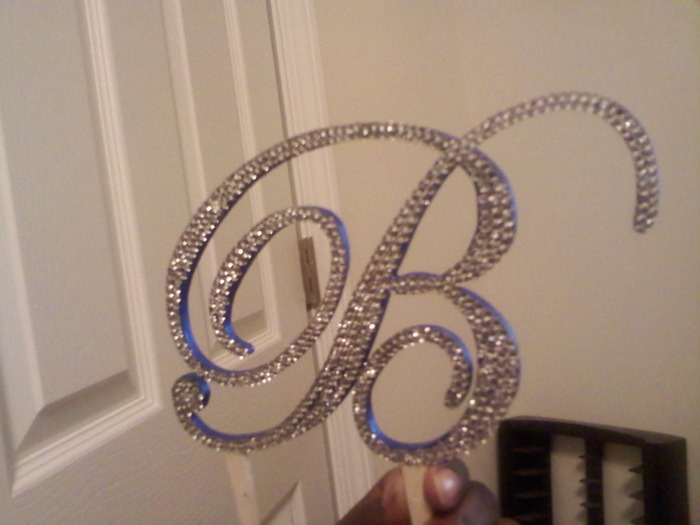
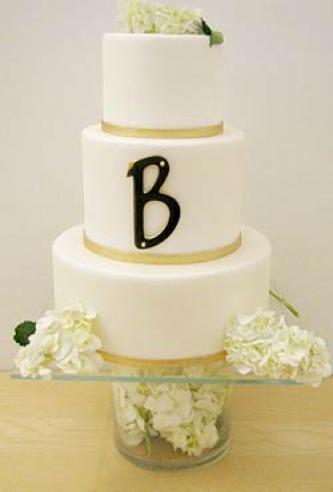
Monogram Cake Topper
This Project took me about 5.5 hours total (Cards and Monogram), but it was very rewarding! I got the 10 Gross. (1 Gross = 144 pieces) I had just enough to do all of my projects. The cake topper letter will probably need about 2 Gross to complete. I got the 12ss and 16ss foiled flat back (CRYSTALLIZED™ - Swarovski Elements 2028 flat back rhinestones)

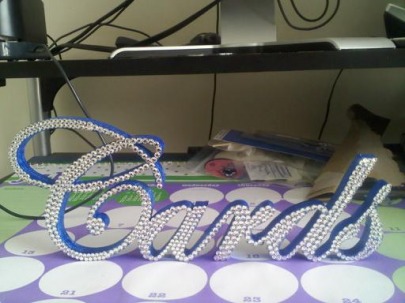
This will go by the cards cage that I ordered from Wal-Mart.com


WE DO sign
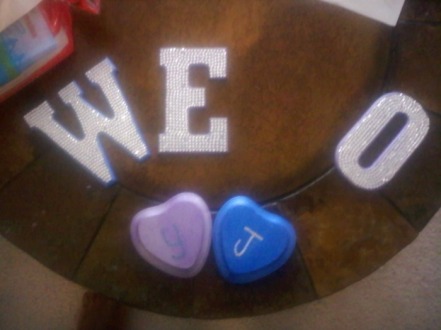
The letters all Blinged out!
Hobby Lobby was having a sale on their Wooden Letters and I decided to get my WE DO letters from there instead of EDDY. They was out of the Letter D, so I will have to get one when they are available but I could not pass up on $1.00 per letter! (DON'T JUDGE ME!! LOL!!) They will go on the cake table. Our cake will be all Ivory and I think that this would be a great addition to the table.
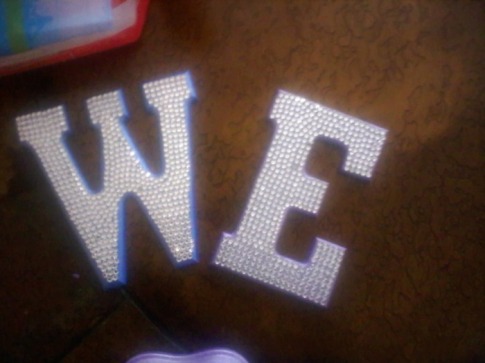
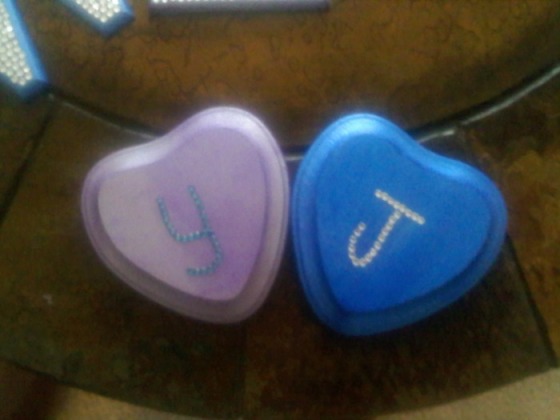
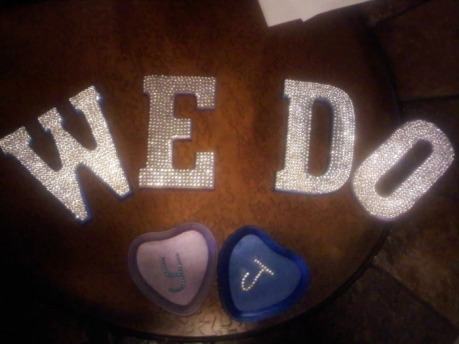
UPDATE: I got the D and now it is complete!
Pomanders for the JR. Bridesmaids
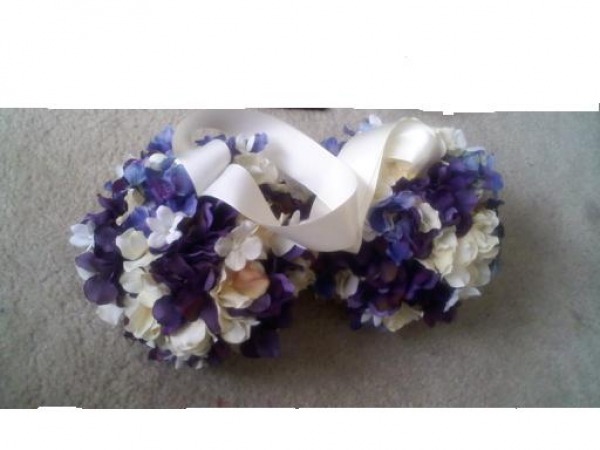
I finally finished my pomanders for my Jr. Bridesmaids. It only took me about Three months! LOL!!! I had to get some more flowers. I love them! I used Styrofoam balls from Wal-Mart. And got the flowers from Micheals and they are Hydrandras.
Ring Bearer Pillow
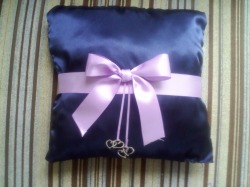
I finally finished my Ring Bearer pillow. I hand-stiched it and stuffed it. I made the Bow and put little hearts on there from Micheals.
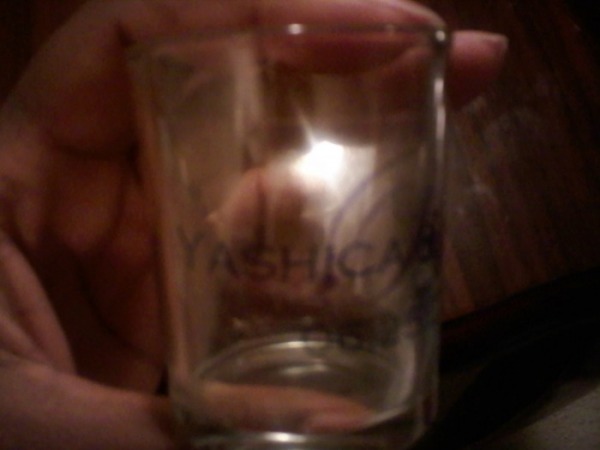
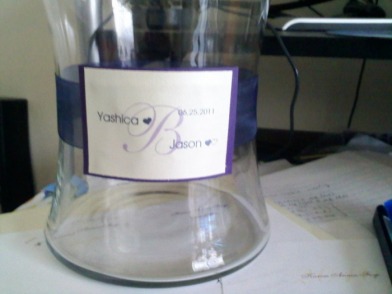
The Personalized Shot Glasses and Sand Ceremony Jar.
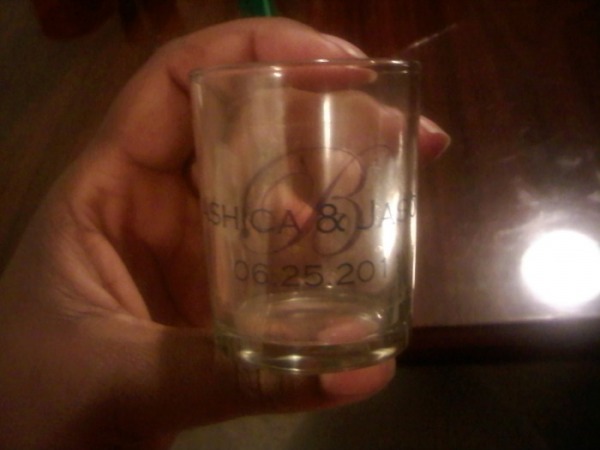
The shot glass was one of my First projects, but I hadn't posted any pictures because it was so hard to take a picture. This is the best picture that I could get. The printable stickers came from Hobby Lobby. I Etched our family name into a Glass Jar with a Cork (For the Sand Ceremony) that I got from Hobby Lobby for $4! I got the Etching Kit from A.C. Moore.

The Sand Ceremony Jar. The Brown Family is Etched on Both sides and our Wedding Date. It has a Cork and will be a keepsake after the Ceremony.
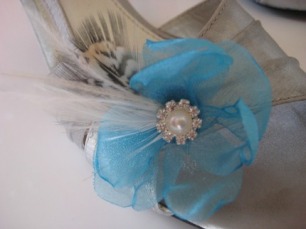
DIY - Fascinator Hair Comb!
NOTE: This is the Haircomb that I will be wearing.
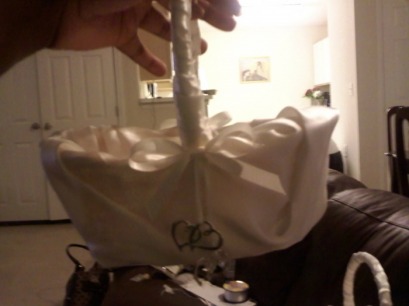
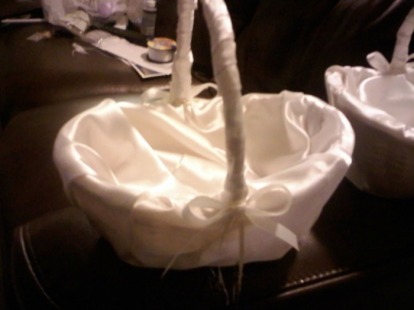
Flower Girl Baskets!
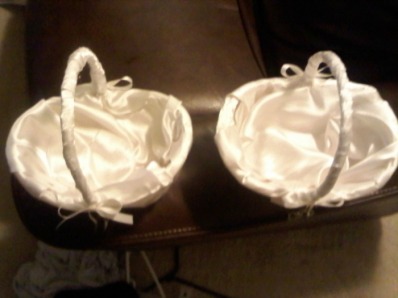
It may not look like it, but the baskets are made out of Ivory Satin.
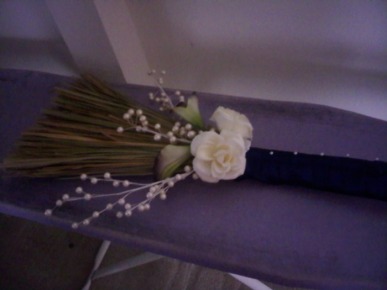
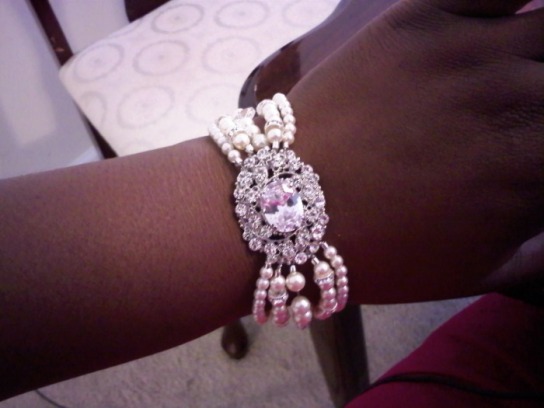
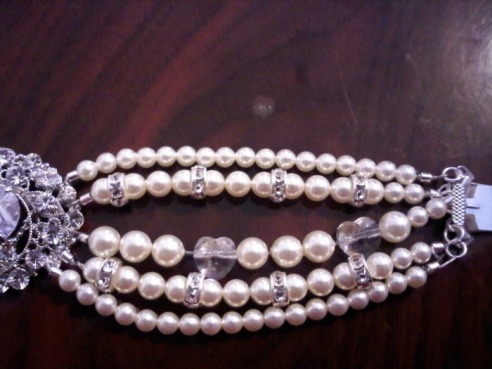
My DIY Haute Bracelet!
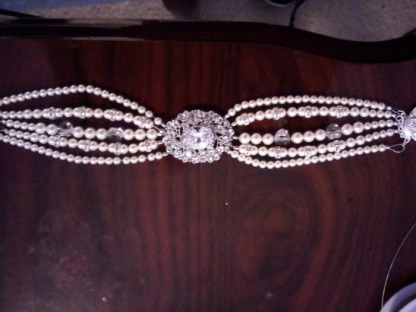
Material: Brooch (eBay - L.A. Fancy beads here eBay My World - lafancybeads
6mm Swarovski white pearls from here Artbeads.com Search Results
5mm Swarovski white pearls from artbeads.com
4mm Swarovski white pearls from artbeads.com
6mm clear crystal rondelles from artbeads.com
5 strand clasp (eBay)
Jewelry wire, silver Wal-Mart
Crimping beads, silver Wal-Mart
Open rings, silver Wal-Mart
Jewelry pliers
Wire cutters
Instructions:
I strung the wire through the detail of the brooch securing it with a crimping bead. Repeating it five times on each side and cutting the wire about 8" long to leave plenty of room for stringing the pearls and closing.
Next I strung the pearls through the wire in my desired pattern inserting the rondelles between some pearls. After stringing pearls I strung a crimping bead at end created a loop with the wire by inserting the wire back into the crimping bead and pulling to the desired size. Then I secured the loop with the crimping bead. I repeated this each of the 5 wires on either side the brooch.
Then I used the open rings to attach each of the pearl wires to the clasp. Open rings are just little circles of thicker wire that allow movement between the clasp and the wired pearls.
Note: I also made an ankle Bracelet, a single bracelet, and a double strain Necklace. I had a lot of pearls left over! :-)
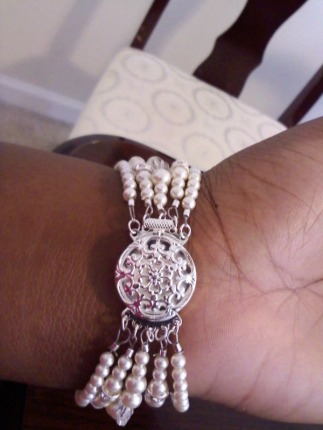
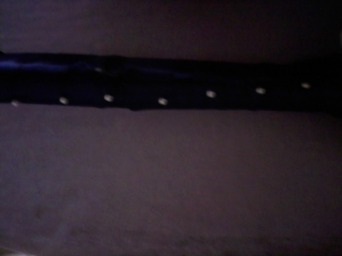
The Back of the Bracelet
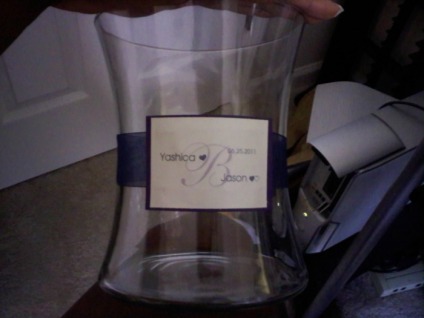
Glass Jars designs for Candy Buffet!
I used Organza Navy Ribbon and wrapped it around the Jar. I designed a Monogram in MS Word and printed it out on Shimmery Ivory CardStock. I then glued it to a purple card stock and glueed it to the ribbon. EZ! I will do this to all of the Jars.
FUTURE DIY PROJECTS

FOR THE REHEARSAL DINNER CENTERPIECES
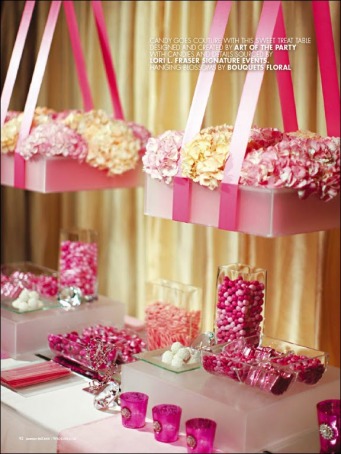
CLEAR BOXES FOR CANDY BUFFET
DIY Cake stand (AKA) Cup cake stand
DIY Shoe clips! This is done on Esty and I am trying to recreate it.
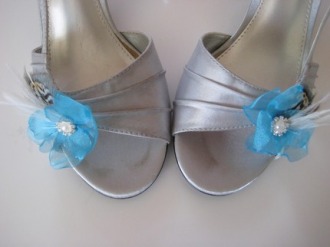


The center that I am using and I will use blue organza to make the petals. Just purchased these today 2/28/2010
